


Videos & Livestreams
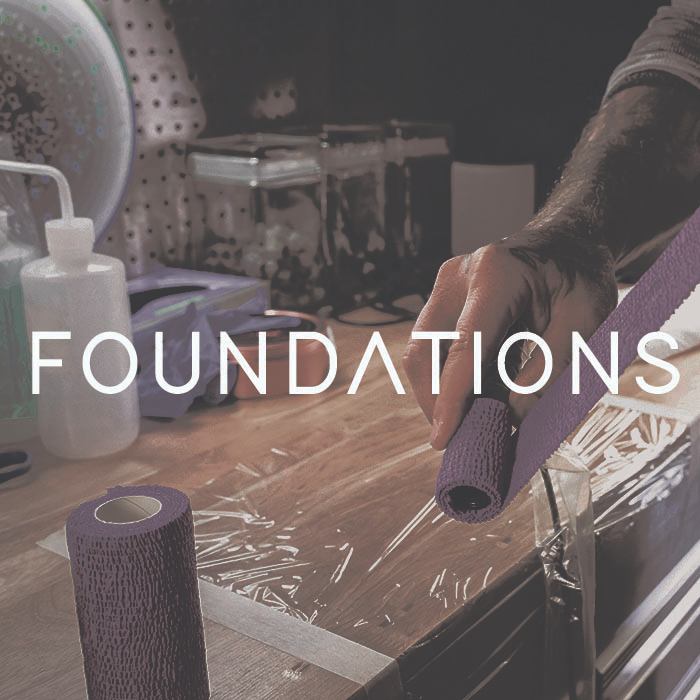
Tattoo Stencil Placement: Essential Tips - Jake Meeks
Are you tired of dealing with stencils that barely cling to the skin or bleed into a blurry mess? In this Fireside Archives Episode 12 of Fireside Technique, we've provided essential tips for laying down a clean stencil and making precise placement decisions.
Hosted by Jake Meeks, this episode delves into the nuances of the stencil application process, offering insights into everything from the choice of applicators to the delicate art of dry-fitting the stencil to the client's body.
The Stencil Application Process
Choosing the right stencil applicator is key to successfully transferring from paper to skin. Jake prefers a traditional mix of green soap and water, applied generously for optimal results. Stencil creams offer longevity for intricate designs but require a lighter touch to prevent blurring.
Dry-Fitting the Stencil to the Client
Before committing to the stencil placement, Jake recommends a quick dry-fit to ensure alignment with the body's contours. This step helps identify potential problem areas and allows the stencil to conform to the skin, facilitating a smoother application.
Applying the Stencil
Achieving the perfect stencil application demands moderation and precision. Finding the right consistency is crucial in using soap and water or stencil creams. Jake advises wiping the stencil farther than the design area to avoid unintentional blurring and allowing it to settle for optimal transfer.
Removing an Unwanted Stencil Placement
Need help finding your stencil? Jake recommends using green soap and alcohol for easy removal, leaving behind a faint guide for adjustments. For expert insights and practical advice on mastering stencil placement, tune in to Fireside Technique.
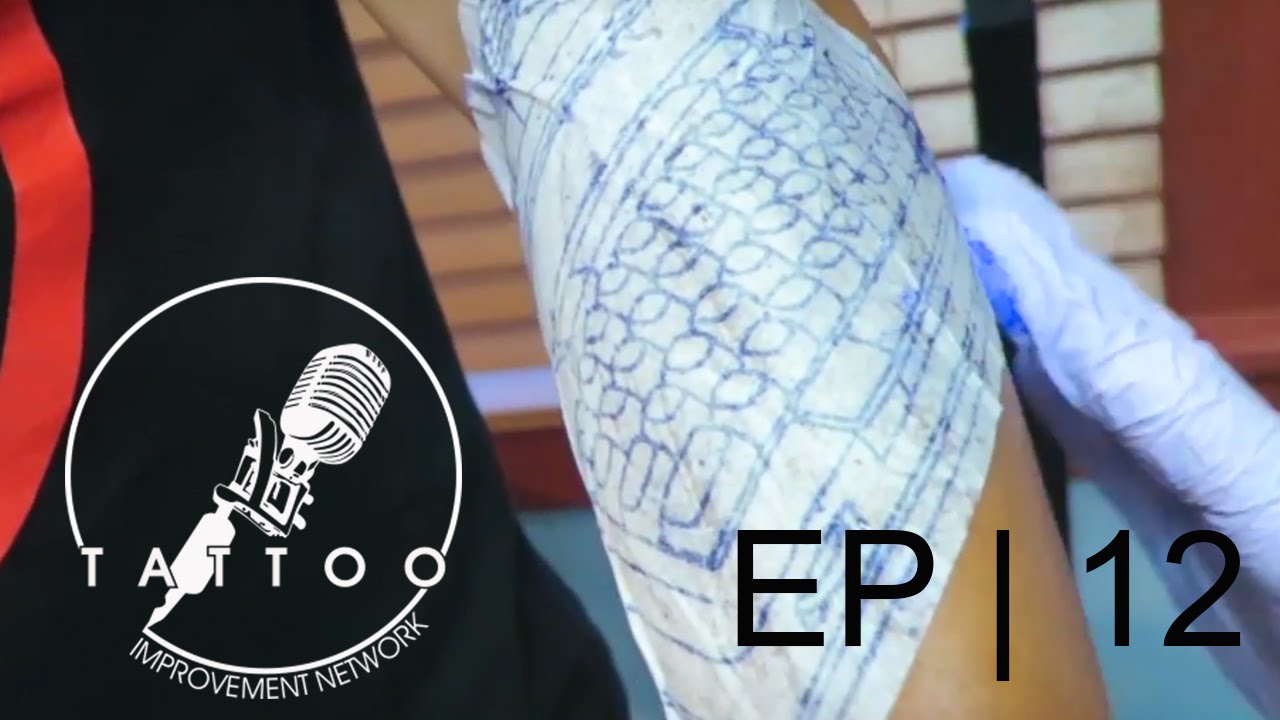
Learn more tips on stencil placement here:
Tattoo Techniques: Tips for Placing Tattoo Stencils Fireside Technique EP 12
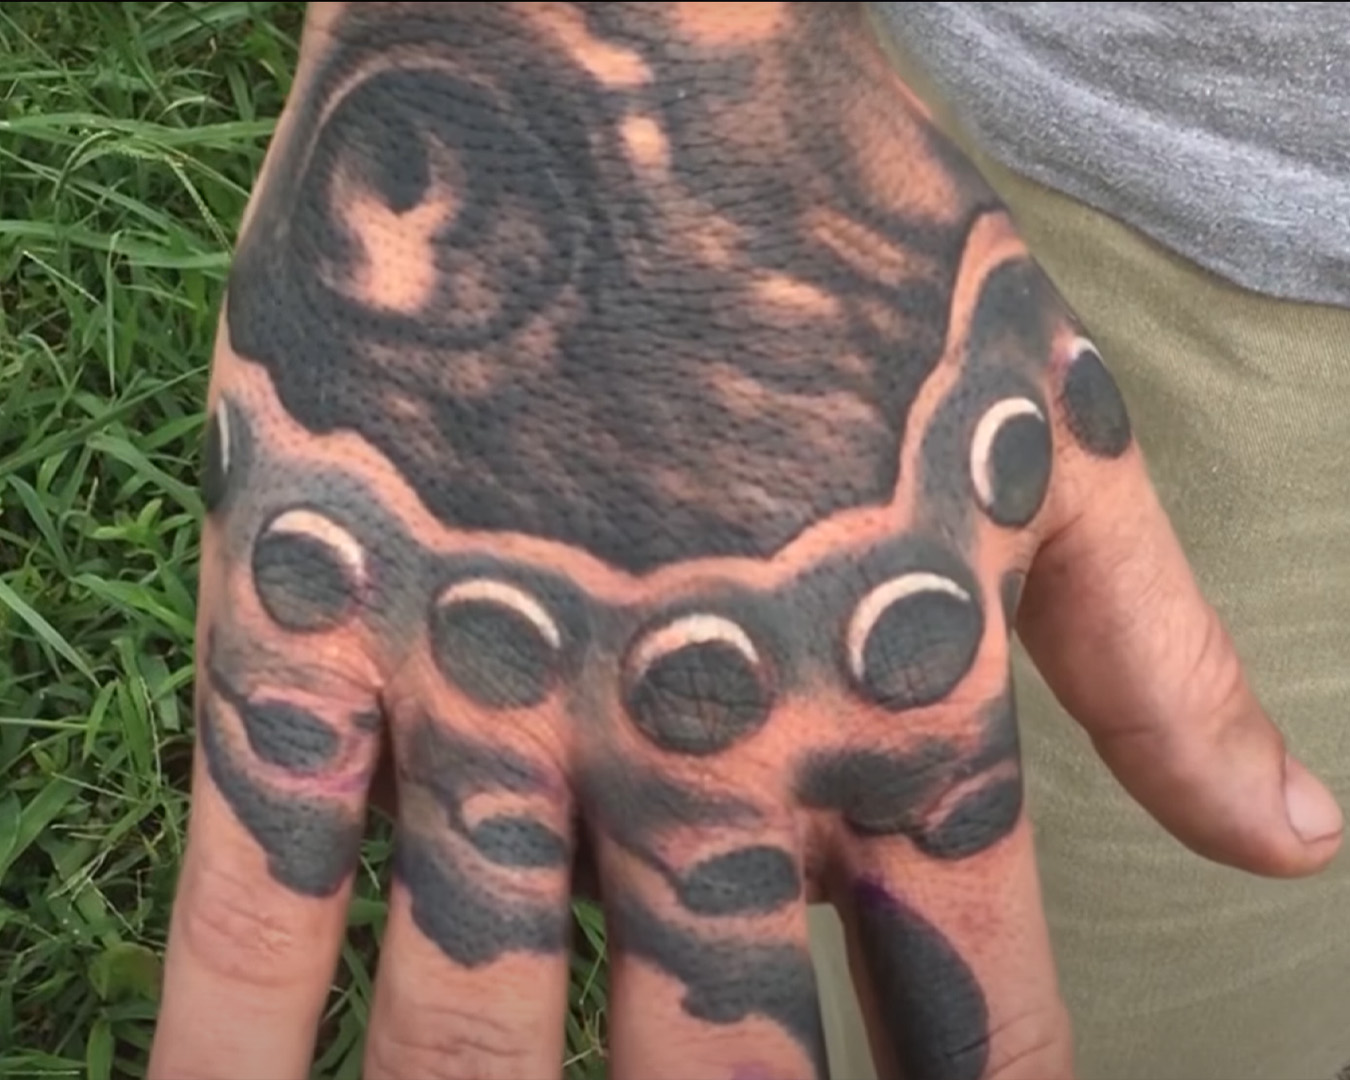
Tips for tattooing Hands and Knuckles - Jake Meeks
Mastering Hand and Finger Tattoos: Tips from the Fireside Technique Episode
Welcome to another insightful session with Jake Meeks on the Fireside Technique series. Today, we delve into the unique challenges of tattooing hands, knuckles, and fingers, where longevity and strategic placement are paramount for a lasting masterpiece.
- Strategic Design Placement:
-
- Knuckle and finger tattoos are prone to fading, so start by strategically laying out the design on areas like the upper hand that hold up better over time.
- Focus on simplicity and abstract shapes around knuckles and fingers to ensure consistency despite potential fading challenges.
- Limiting Linework:
-
- For finger tattoos, opt for dark gray washes rather than bold lines. Abstract shapes can mitigate potential fading and give a more intentional look.
- On the top part of the hand, use bold, crisp lines to draw attention to the focal points of the tattoo.
- Patience and Deliberate Techniques:
-
- Take your time with shading and color packing, using smaller needle configurations and a slow, deliberate approach.
- Position the client's hand for optimal skin stretching to minimize slicing or tearing, especially around the thin skin of the fingers.
- Simplify shapes and edges intentionally to address potential fading concerns.
Remember, the goal is to minimize the need for multiple sessions while ensuring a long-lasting and visually striking tattoo.
For more tattoo education and resources, check out the Fireside Tattoo Network, home to the Fireside podcast, the Fireside Technique video series, and the inside Fireside tattoo club.
Stay tuned for more insights, techniques, and inspiration to elevate your tattooing skills.
Need an accountability group? Learn about INSIDE FIRESIDE TATTOO CLUB.
Join the Inside Fireside Tattoo for community, continuous learning, and growth in tattooing.