Drawing For Tattoo Design: Simple Body Mapping for Tattoo Sleeves
Simple Body Mapping for Tattoo Sleeves
| Fireside Technique | EP 49
In today's episode, Jake demonstrates his method for mapping the arm for tattoo sleeve design. Jake uses a combination of traditional tattoo body mapping techniques along with digital design. The result is a cohesive tattoo design that fits the arm perfectly with minimal effort. Enjoy
Videos By Jake Meeks —
Writing by Daniel Pushcarich -
Topics: Common topics from the video and the paragraphs, examples: Tattoos, Tattoo Sleeves, Tattoo Stencils, Tattoo Sleeve Design, Arm Tattoos, Tracing Paper for Tattoos, Procreate for Tattoos
This episode was made possible thanks to:
What a Great Tattoo is REALLY Made of
Let's focus on one of the most critical aspects of both the consultation and design processes: mapping the body. Designing a tattoo that looks good from all angles is challenging, especially when accounting for how movement affects it--this is crucial for all sleeve designs specifically.
If you're starting out as a tattoo artist, or even if you're experienced but want to try new styles and forms, there are some things you might overlook. In this article, we'll cover the Fireside Hybrid Method of sleeve design, which uses both analog body maps and digital drawing techniques. We'll also briefly discuss different ways of thinking about what's important in designing a tattoo sleeve, including placement of your elements.
The Importance of Good Tattoo Sleeve Design
“There should be something interesting to look at, at whatever angle the viewer experiences the sleeve.”
- Jake Meeks
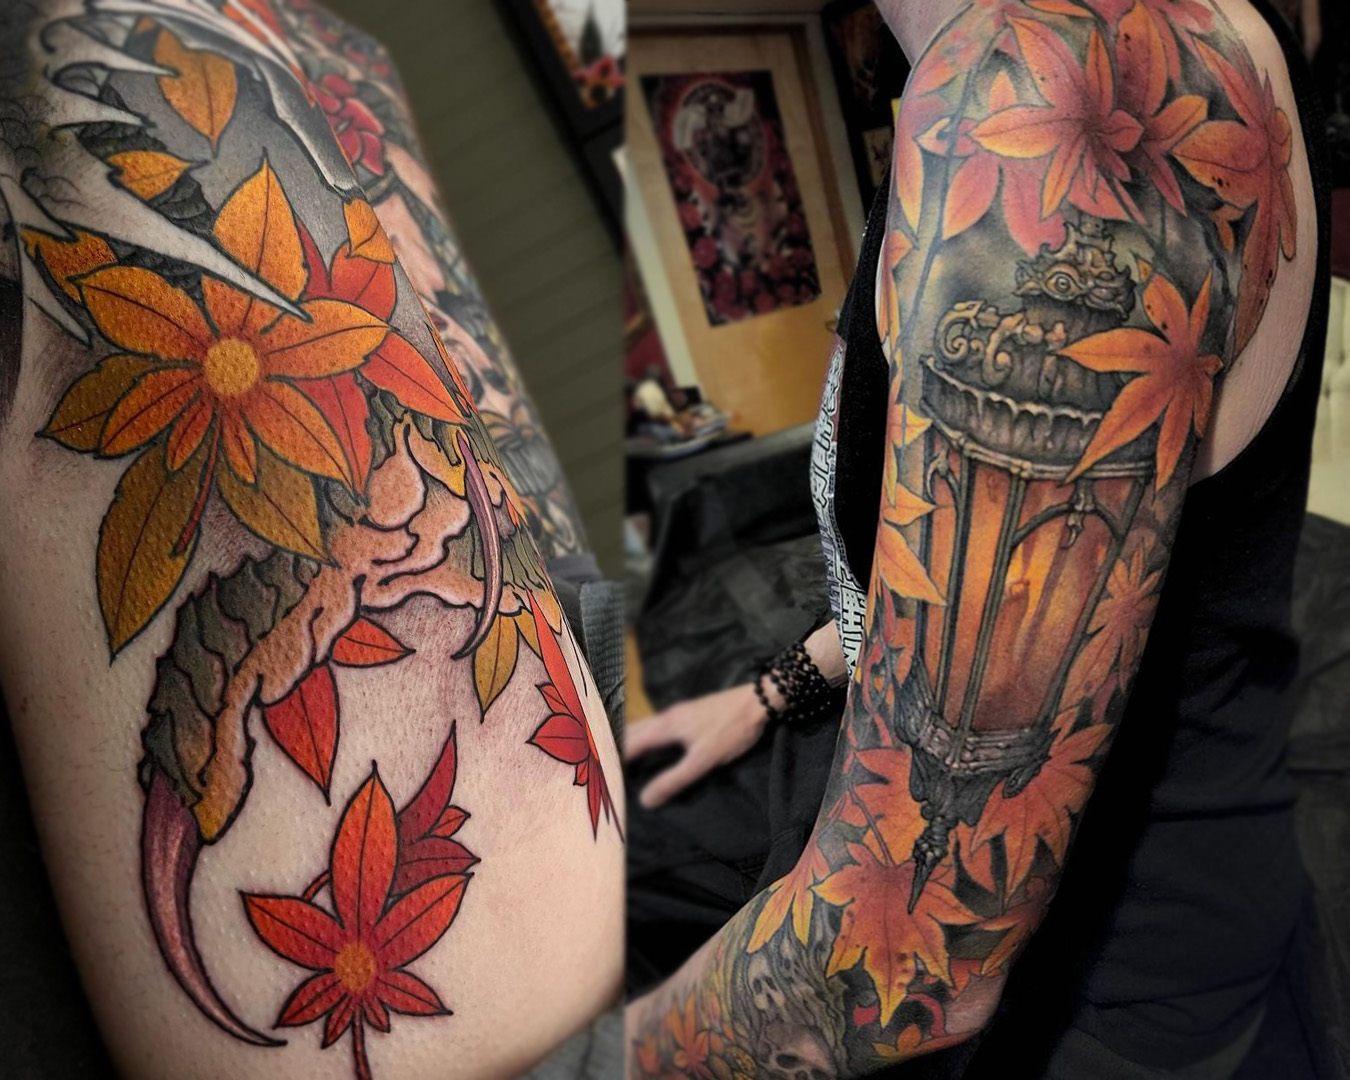
To accurately design a tattoo for any body part, you must first consider the unique shape of that area on different people. Arms, legs, and torsos all have diverse shapes depending on the person, so it's important to keep that in mind when designing a tattoo.
Second is the individual elements and how they’re going to interact and flow in the design. No matter where the viewer is standing there needs to be a focus to pull them in, to make them want to walk up to your client and start asking questions.
Mapping a Tattoo Design: Analog vs Digital
Analog
If you can get the client in front of you at the tattoo shop, analog has a lot of benefits. If you’ve developed any kind of mapping style for a tattoo sleeve, this is probably the best way to guarantee that you don’t miss any of the clients' unique body shapes.
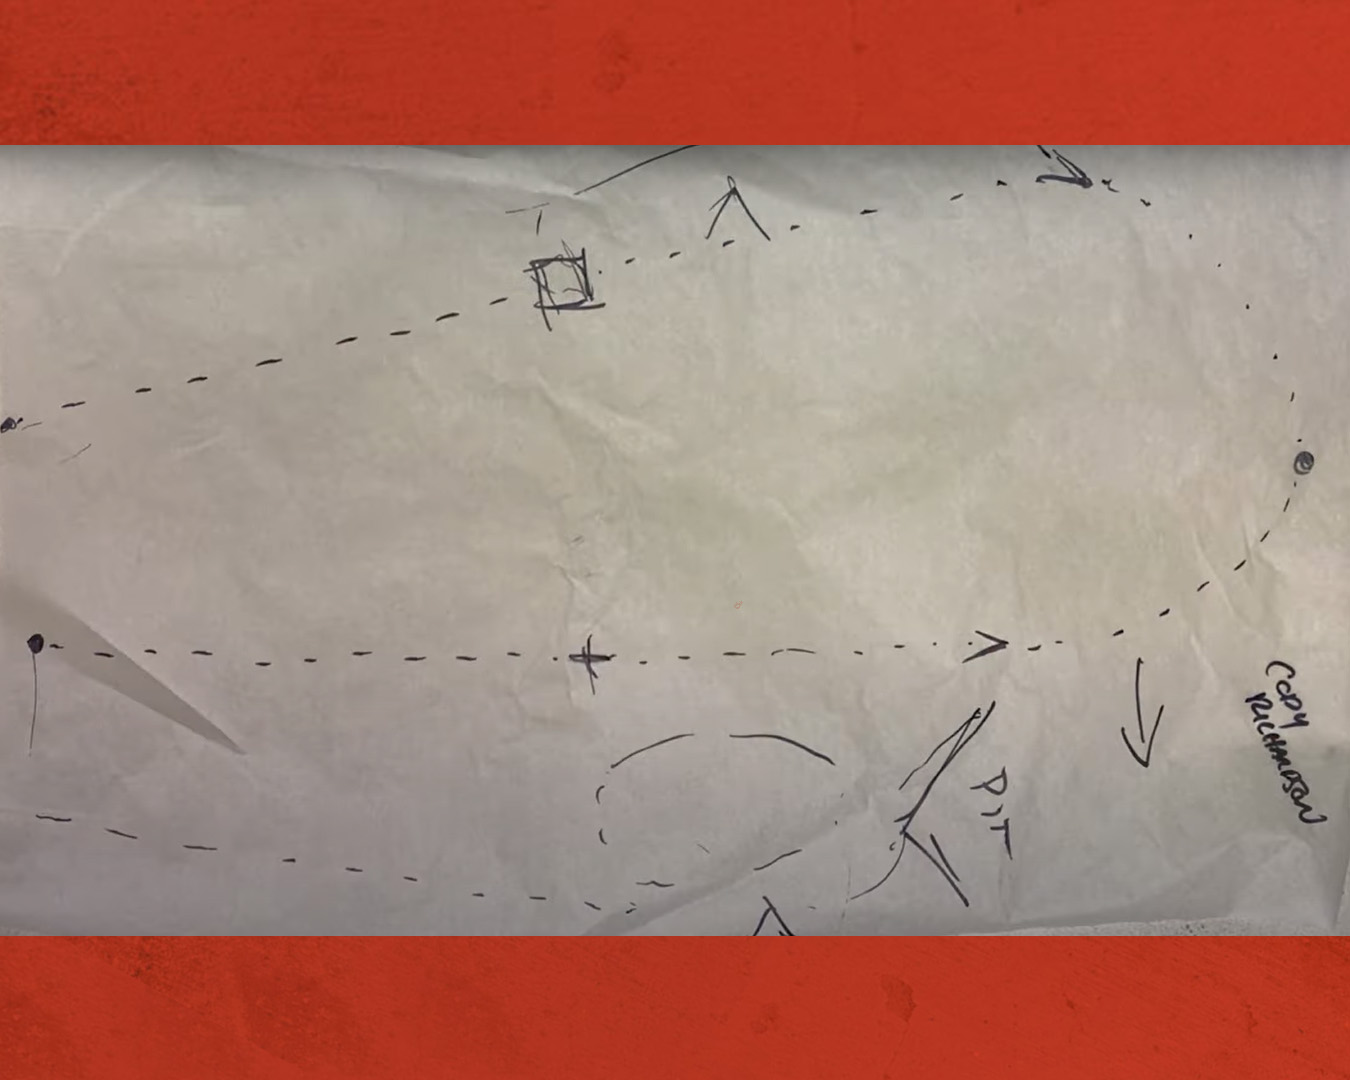
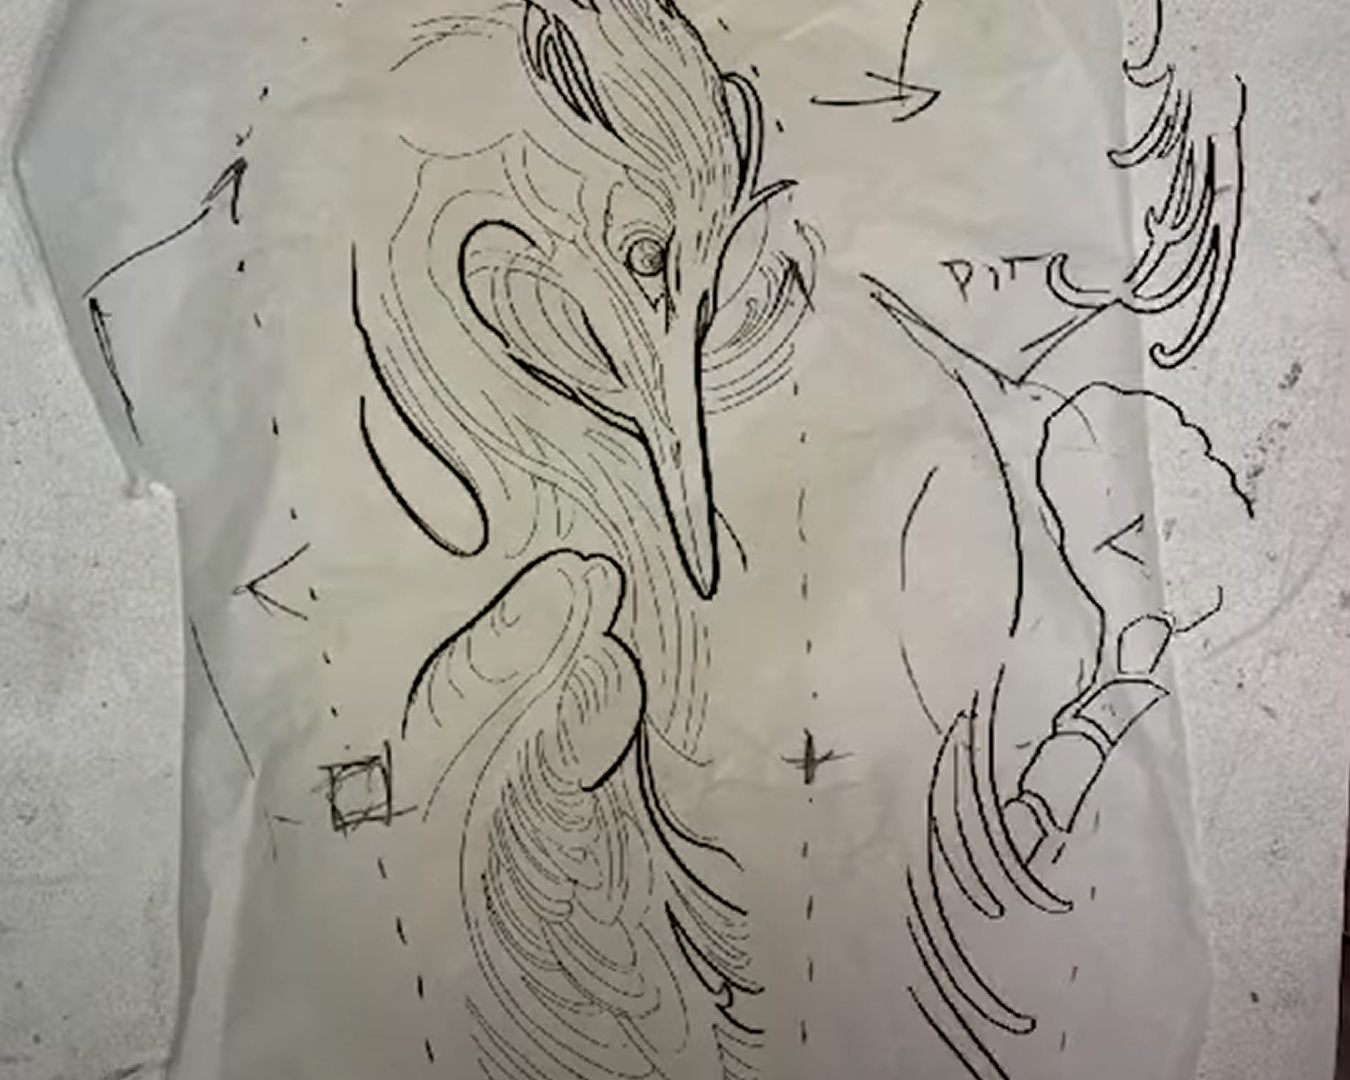
To ensure accuracy, map out the locations of specific landmarks on the body using shapes and colors. For example, circles might denote bones, squares or pluses might depict pits, and triangles could identify bends or joints. Also, don't forget to note any scarring that the client might have forgotten to mention.
Getting to design the tattoo sleeve to a customer's exact measurements, you can be sure that the design will fit well on their body. This takes out all of the guesswork on your part as to whether an element is going to work in a certain area.
Some of the downsides to drawing strictly analog are speed (depending on artist), the noise of the tracing paper, and how cumbersome it can be when working on larger designs like backs. This is really where digital comes in handy.
Digital
Although digital tattoo design doesn't give a totally accurate body map, it does make up for that in efficiency and convenience.
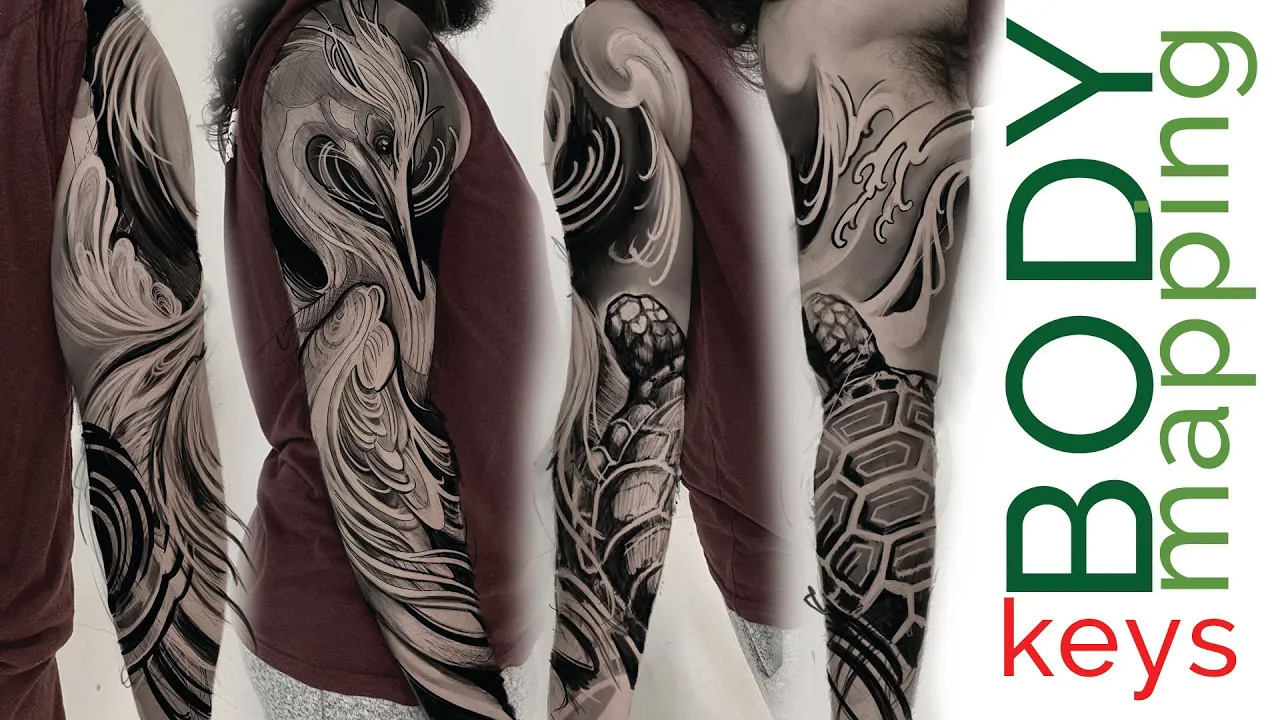
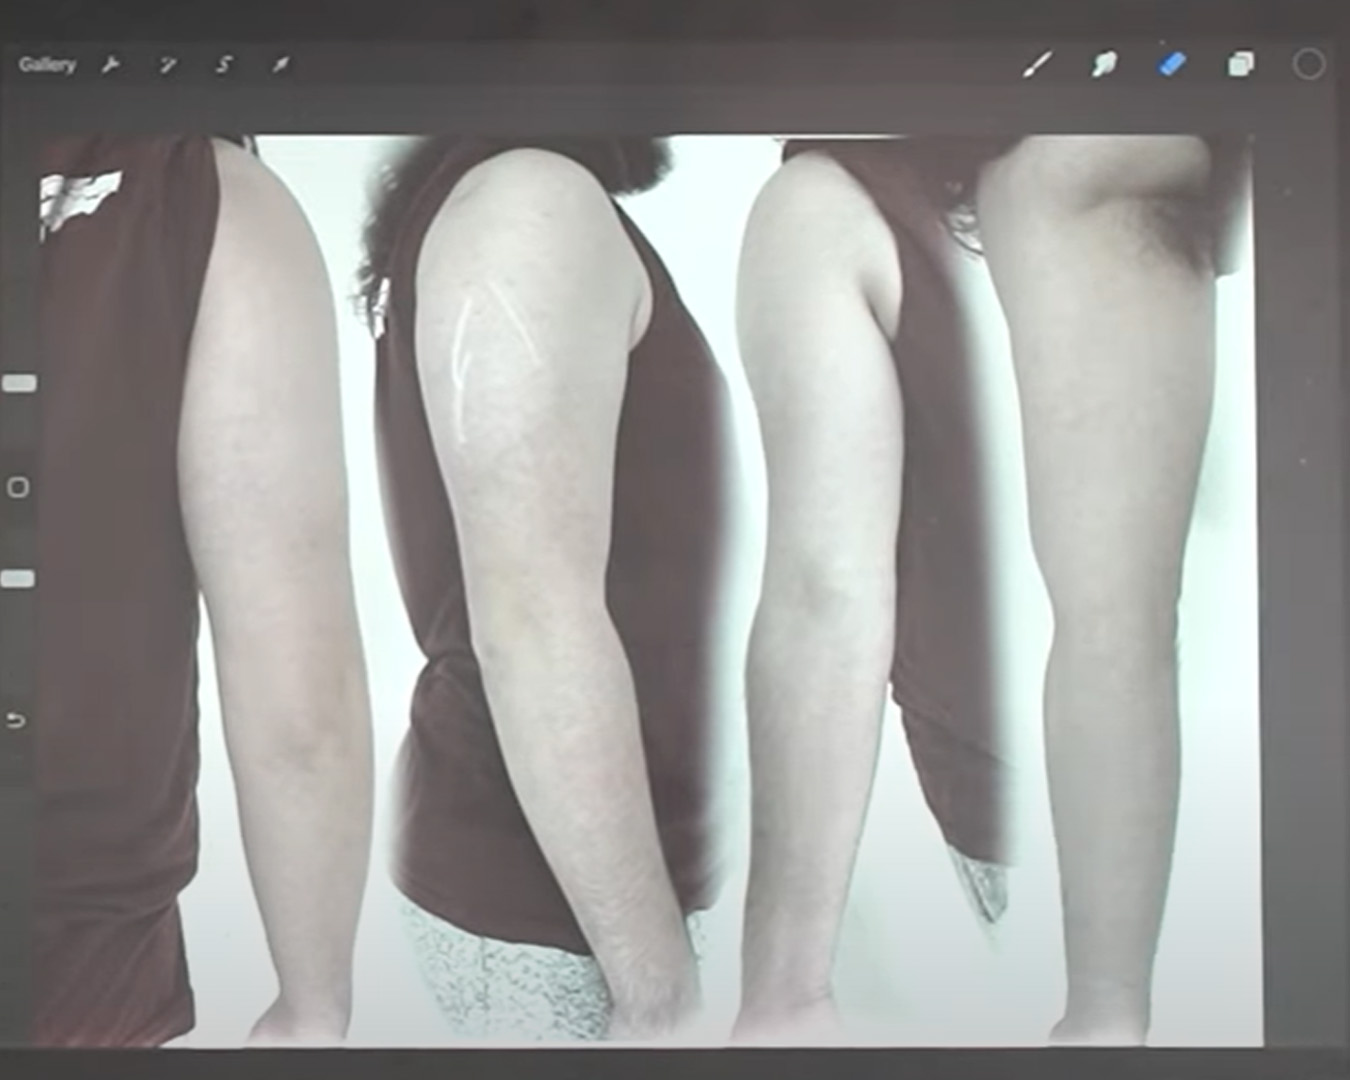
For example, by taking a few pictures of your client from different angles and then compiling them into panels, you can help the customer visualize how the tattoo will look on their own body from different angles. Doing this can also assist you with making each section of the tattoo completely unique to that area of skin by separating the focal points.
Although going digital has many advantages, there are some disadvantages as well. One thing to think about is how challenging it can be to put the different panels together and line up all the elements correctly. Most experienced tattoo artists can make a pretty good guess of where everything will go, but when the customer arrives you may still need to reprint and shift things around a bit to get it perfect.
Also, If you’re a tattoo artist that has any kind of out-of-state clientele then you know how difficult it can be to get good photos from the client. Even if the client has help snapping some decent shots a lot of them just aren't thinking of things like lighting or angle so you might not get that perfect angle you need. Examples usually help ease this process, but it can be a real dice throw.
The Hybrid Method of Tattoo Sleeve Design
Now that we have a basic idea of how these methods can be used individually, let's start to merge them together and really take the best parts of both techniques.
Like we mentioned earlier you’re going to want to make some markings to indicate landmarks. You’ll do this on the client's skin first and then duplicate them on the tracing paper so that you can really pinpoint and keep track of all the problem spots like armpits and wrist bones.
After that, make sure it’s laid flat on the ground or taped taught to a wall and you’re going to take a nice even, stable picture of the body tracing with your phone or digital camera. Assuming you already have the panel image of the client’s body, upload the body map as a layer into the digital drawing program you use.

Now you can start to render the tattoo design on your client's panel image. Since we're in the beginning stages, we can start with a simpler black and white rendering of the design and get a good idea for how we want to lay out the piece.
At this stage of the process it’s still difficult to get a good read of how each panel will transition accurately on the body. We need to start connecting the panels together so that we can get a nice cohesive outline out of these images instead of a patchwork stencil job on the client.
Breaking Down the Barriers Between Analog and Digital Tattoo Design
After the tattoo design is rendered, outline the four individual panels on separate layers. This will let you move them around as needed. Then, turn on the body map layer and drag the outlines to stitch them together. Draw in any transitions between sections, and adapt shapes to fit your map exactly.
With a tracing, you'll have an outline as well as all of the markings for body landmarks. This way, you can make any changes necessary to avoid problem areas like bones and weird spots like the ditch. Now you have a perfect mapping and no longer need to guess where everything is going to land on your client.
Improve Your Stencil-Making Skills to Spend More Time on Tattoos
“It really helps you become an efficient tattooer if you learn to map & stencil the body accurately”
- Jake Meeks
The last step is to lay the stencil on the client. We could just make an educated guess since we have markers on the stencil, but it's important to take a bit more time for precision. Use a light colored sharpie and remark the landmarks on the client's body, then line those marks up with the ones on the stencil.
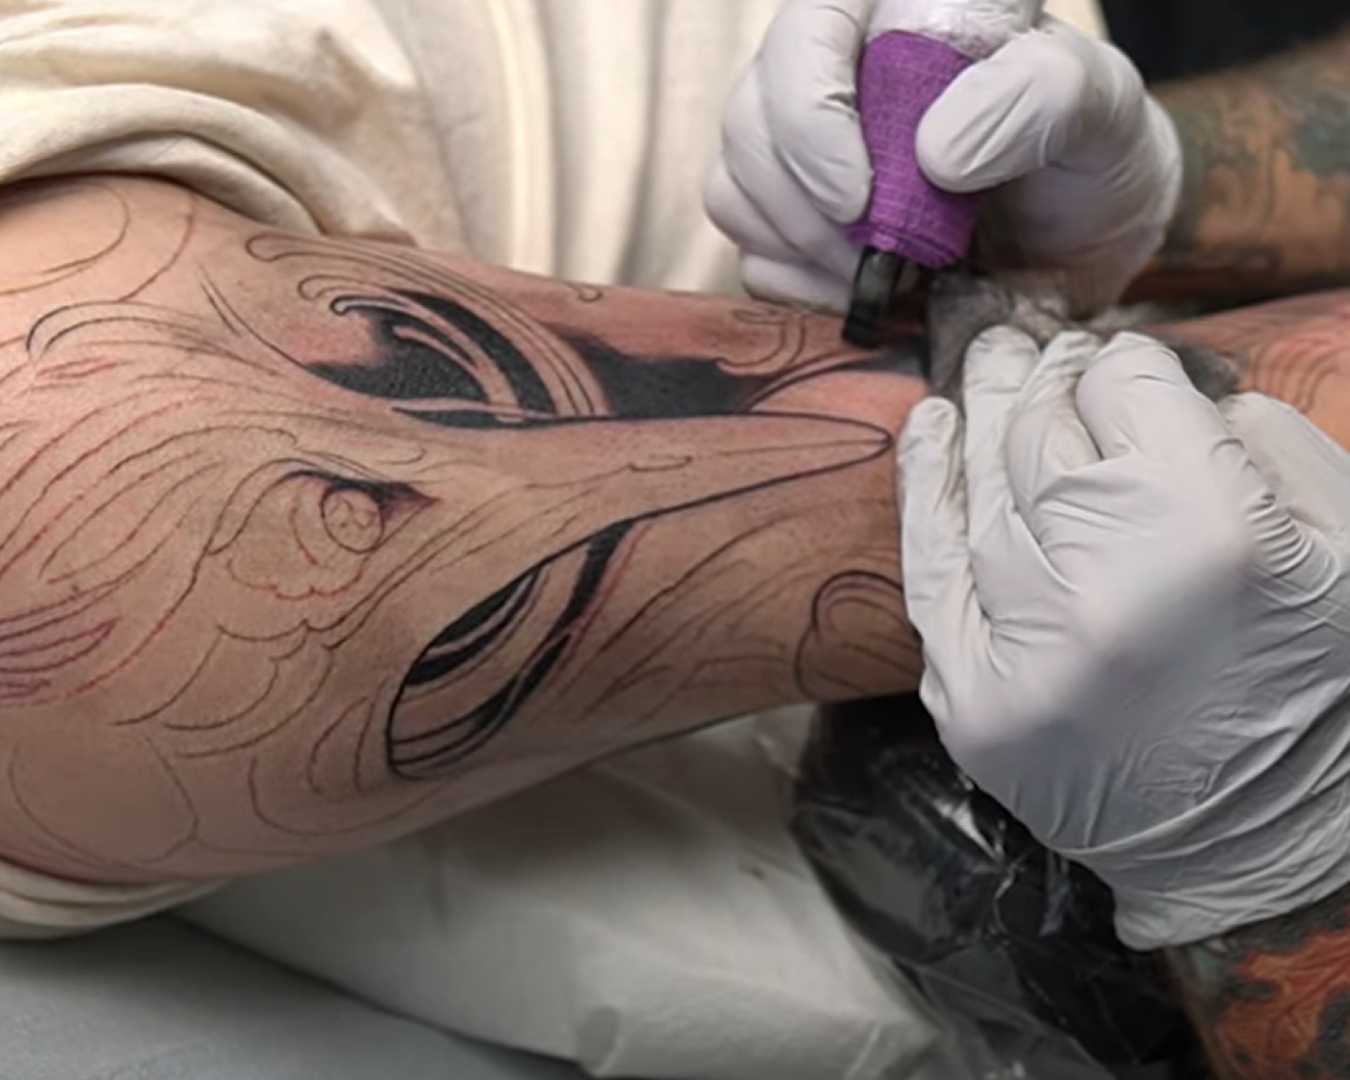
Look at that, you’ve done all this legwork on the front end to really hone in a stencil design. Now the hour and a half you would have spent prepping, printing, testing, and drawing on the client has nearly disappeared. You’ve made the entire stencil in advance and now you have the opportunity and extra time to make some decent progress on the piece.
Thanks for reading!
Want more tattoo education and resources?
Check out our Drawing for Tattoos catalog HERE!
Transcript for this video can be found (here). All transcripts can be found (Here)
The Fireside Tattoo Network is home to the Fireside podcast, Fireside Technique video series and our Fireside Weekly blog.
The Fireside Tattoo podcast is hosted by veteran tattooer Jake Meeks, check out our episodes where we discuss, argue and wax philosophical, from tips for all levels of artists to trends in the tattoo world. Many guest artists have sat down for interviews and in-depth conversations and many more are planned…check back often!
Our Fireside Tattoo Overview video series offers informative, short, and detailed videos geared towards helping artists understand the science and nuances of tattoos and make more informed decisions to improve their work. We often take some of our more technical topics from our Fireside podcast and film an in-depth, narrated, time-lapse video showing exactly how Jake or our featured artists handle certain issues.
Support us while buying the stuff you need at the links below!
- Get 10% off the Neuma 4 with code “Fireside” at checkout
https://neumatattoo.com - Get 10 % off all S8 Tattoo products with promo code “Fireside”
https://s8tattoo.com/ - Get $50 discount on TSM Pro automation services at the link below
https://tsmpro.co/a/Fireside_Automation - Get 10% off your order from Raw Pigments with code “fireside”
https://rawpigments.co/
Drawing for Tattoo Design
Your tattoo designs starting to feel stagnant? Feel like you’re not progressing? Drawing is the single most important piece of the tattoo process. No level of technical tattoo skill can overcome bad composition and draftsmanship.
Fireside Tattoo Network simplifies the tattoo design process with the Fireside Method. By focusing on the principles of Shape, Value, Edge and Color, we help you identify and solve your biggest challenges early in the design process.
The Fireside Method:
Check out some of our podcast episodes as well!
Recent News
Tattooing Hands and Knuckles
- 04/10/24