Tattoo Techniques: Tips for Placing Tattoo Stencils Fireside Technique EP 12
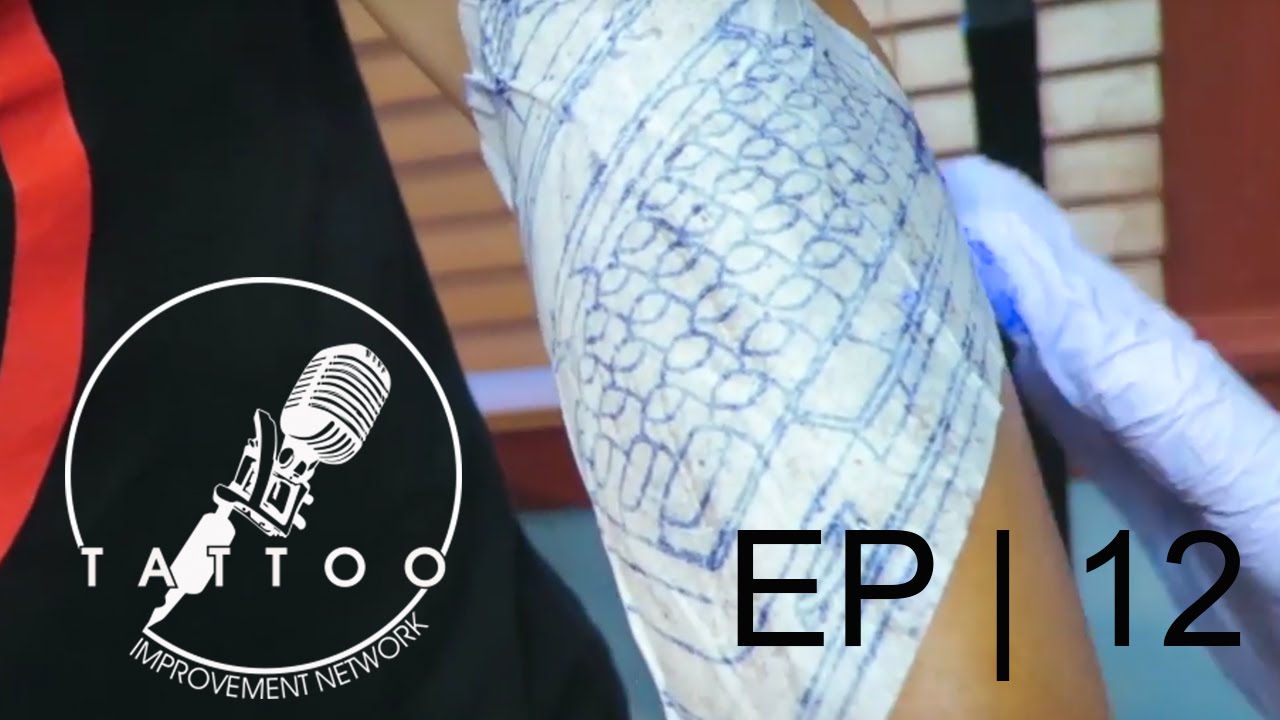
Tips for Placing Tattoo Stencils
| Fireside Technique | EP 12
“I want the stencil to remain there long enough to get my lines in, but I don’t want it there for three hours, and I’m trying to wipe it off at the end of the tattoo…”
– Jake Meeks
We've all had those stencils that barely stayed on our skin or bled out completely into a hazy mess. In this episode our goal is to give you guys some tips to lay down a clean stencil and some tricks to make sure you make good placement decisions.
From different applicators, to placement, and even ways to remove a tattoo stencil, each part of the stencil process has room for error that we aim to address.
This episode was made possible thanks to:
Video by Jake Meeks –
Writing by Daniel Pushcarich -
Topics: Tattoo Techniques, Needle Groupings, Lining, Fireside Techniques
The Stencil Application Process
Choice in Stencil Applicators

“I will traditionally let it sit for just a minute, I do put it on kinda thick… I’ve tried it the other way where I put it on real thin and don’t end up getting the transfer…”
– Jake Meeks
The applicator you use is crucial when transferring the stencil from paper to skin. Applicators release some of the stencil’s pigment from the paper and allow for placement onto the skin for the initial line drawing. There are numerous tattoo stencil products available, and each has its own advantages and disadvantages.
I’ll traditionally use green soap and water to apply my stencils. I lay down the mixture kind of thick and let it sit for a few moments. This is a good method for all types of designs but especially for looser, more painterly tattoos as it doesn’t make the stencil stick as long as a tattoo stencil cream would.
If I have a tattoo design with a lot of important details like lettering or something that needs to be symmetrical I’ll tend to opt for a stencil cream. They last a lot longer, but you really only need a small or moderate amount. You want to apply it farther than the actual tattoo area to make sure you don’t get any bleeding from the stencil. But, we’ll touch on that in a moment.
NOTE: Some tattooers try to go cheap and use deodorant to apply stencils. While this does work, I don’t recommend this method at all. You can definitely risk some cross contamination from wiping the same deodorant stick on several clients. You never really know if you nicked them or made some micro cuts while shaving the client so it’s better to just use something like a stencil cream or just plain green soap.
Dry-Fitting the Stencil to the Client
“…I’ve already checked it with the line drawing to make sure my scale was right, but now I’m gonna dry-fit the actual stencil…”
– Jake Meeks
Before actually putting the stencil down on the skin, be sure to dry-fit it first to check how it will sit on the body. With this quick extra step, you’ll be able to identify the problem spots that might not line up clearly with the body without having to remove the stencil if something isn’t right.
With larger stencils, this also gives the stencil a chance to warp to the body. This allows the paper to create wrinkles that will help you to identify where you might need some relief cuts or difficult spots that might need extra attention.
Applying the Stencil

“…what you really want it to look like is more like this, just where you can see the skin coming through it…”
– Jake Meeks
So, we’re ready to put the stencil on. One of the biggest make or break points of application is the consistency of your tattoo stencil applicator. Again, it really depends on what you’re using. I mentioned above that with green soap and water mix you might want to use a little more because it’s a thinner applicator, but you want to use a lot less if you like to use stencil creams.
But, I think most people are gravitating towards stencil creams now. Just remember, a little goes a long way. Too thick and it will create a blurry mess on the skin. Too thin and you won’t get your design on the skin at all.
The key here is to apply a moderate amount and to wipe it farther out than the design placement area. This makes it less likely that you’ll lay your tattoo stencil in an invisible glob by mistake. Then, let it settle for a few minutes so that the design transfers without bleeding out.
Definitely experiment and see what works best for your set up!
Removing an Unwanted Stencil Placement
“…I like to leave a little of the old stencil through there when I’m trying to find my placement because it gives me a guide…”
– Jake Meeks
"OH NO, It’s not supposed to go THERE!" Looks like you’ll have to remove it and go again. No big deal though, when it comes to removing the stencil usually green soap will do most of the work here and lighten the stencil a decent amount.
If you need it even lighter however, then break out the alcohol to zap the rest of it. I would recommend leaving just a bit of the old stencil visible to use a guide for what didn’t work and how to change it on the second go around.
Want more tattoo education and resources?
Check out our Tattoo Techniques catalog HERE!
Transcript can be found here. All Transcripts can be found here
The Fireside Tattoo Network is home to the Fireside podcast, Fireside Technique video series and our Fireside Weekly blog.
The Fireside Tattoo podcast is hosted by veteran tattooer Jake Meeks, check out our episodes where we discuss, argue and wax philosophical, from tips for all levels of artists to trends in the tattoo world. Many guest artists have sat down for interviews and in-depth conversations and many more are planned…check back often!
Our Fireside Technique video series offers short, detailed how-to videos geared towards helping artists improve their work. We often take some of our more technical topics from our Fireside podcast and film an in-depth, narrated, time-lapsed video showing exactly how Jake or our featured artists handle certain issues.
Support us while buying the stuff you need at the links below!
- Get 10% off the Neuma 4 with code “Fireside” at checkout
https://neumatattoo.com - Get 10 % off all S8 Tattoo products with promo code “Fireside”
https://s8tattoo.com/ - TattooNOW Website and Automation services at the link below
https://TattooNOW.com/Fireside - Get 10% off your order from Raw Pigments with code “fireside”
https://rawpigments.co/
Tattoo Techniques
Tattoo technique is, no doubt, an art of its own. Like any skill or trade, tattooing has been closely guarded by tattooers throughout modern history. We take a different approach here at Fireside. Our goal is to embrace the information age by making a conscious effort to help artists of all skill levels solve their technical tattoo challenges.
We'll touch on topics like:
We’ve got a plethora of podcasts on being a well-rounded tattoo technician:
Fireside Tattoo Podcast
Recent News
Why Do We Care About Give? - Carson Hill
- 07/24/24

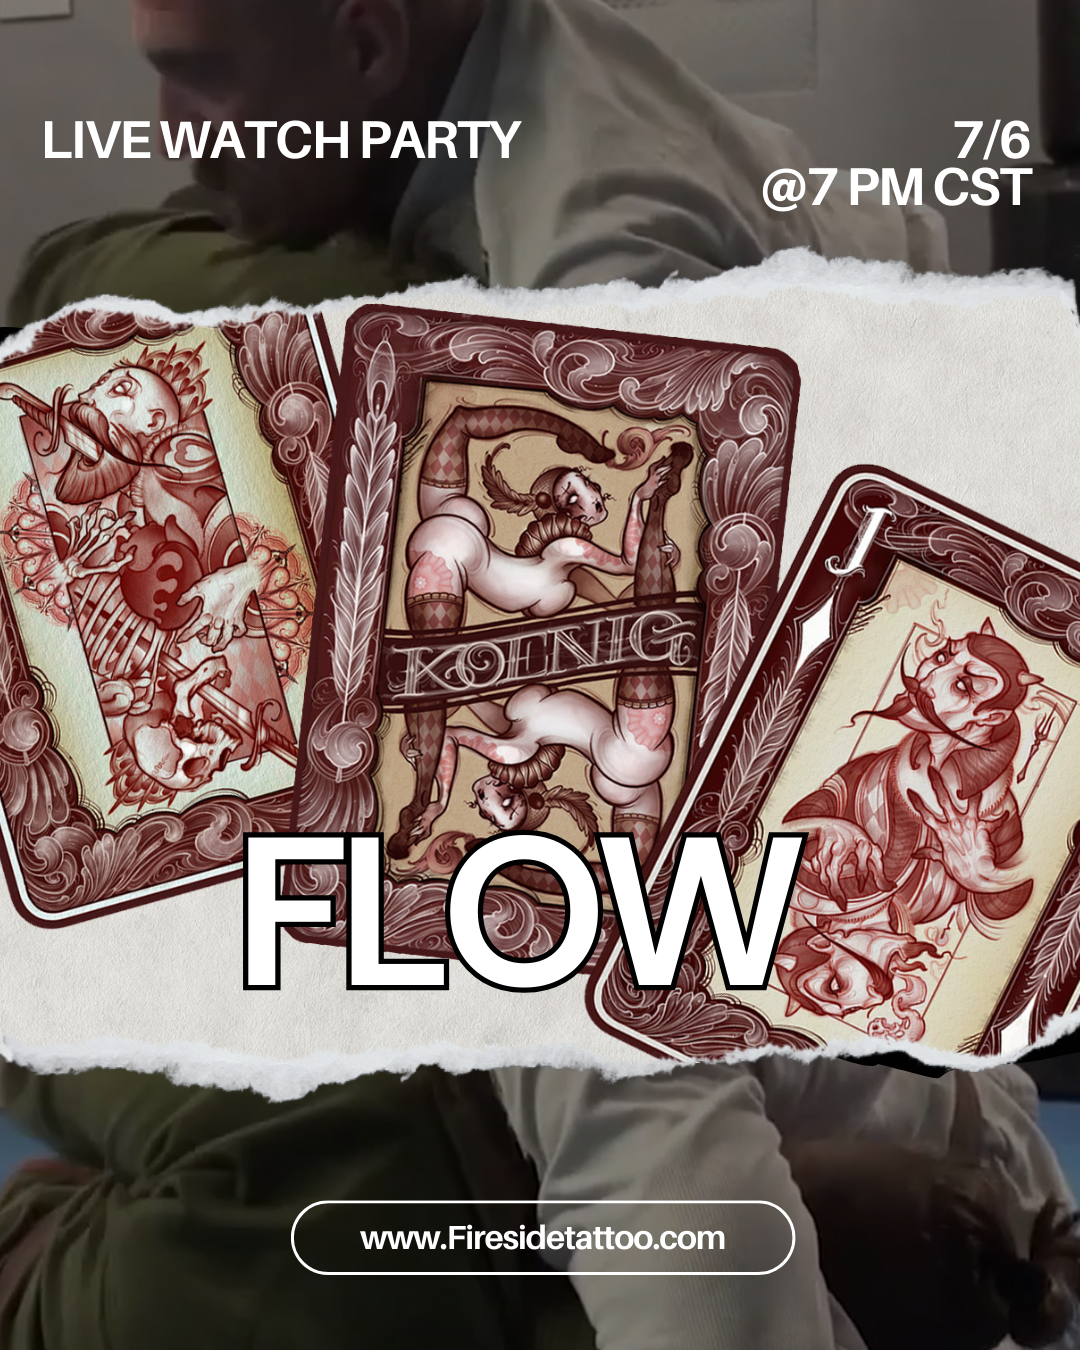
FLOW | Dave Koenig
- 06/28/24